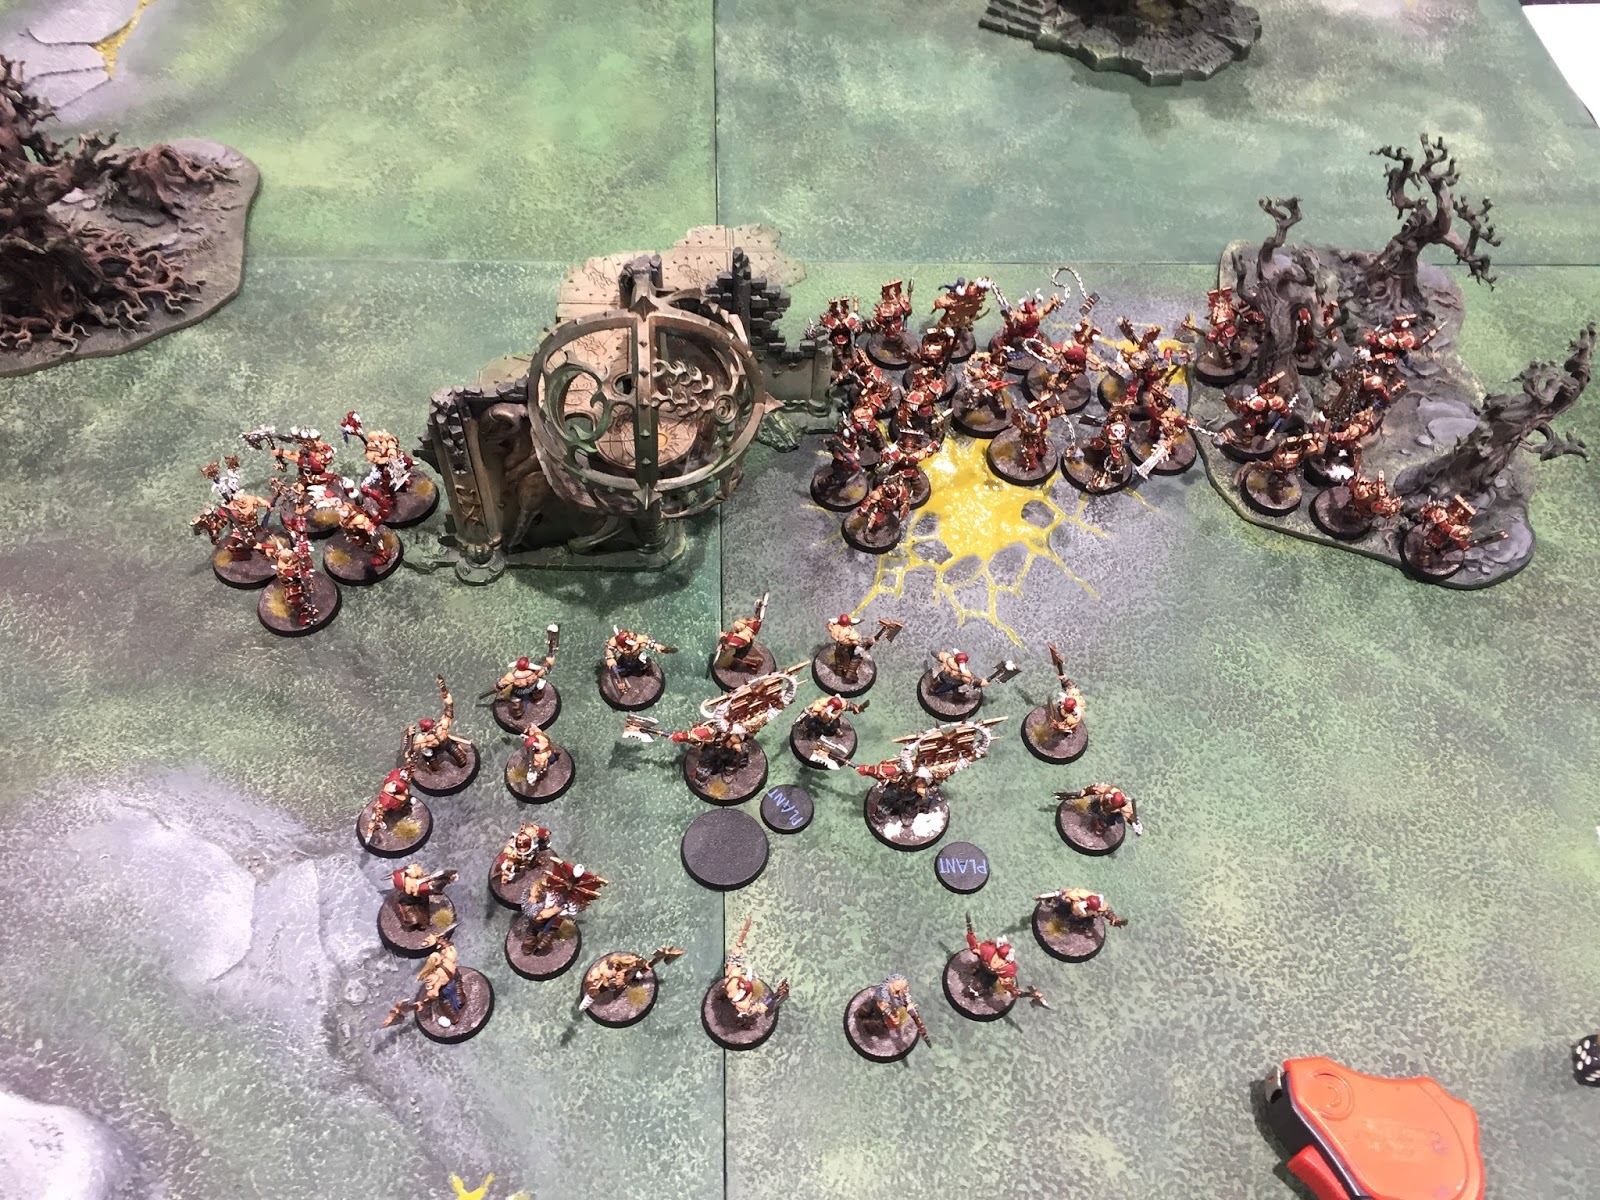
Well, it was tournament time! And my first match up was against a beautifully painted Spiderfang Grots army! From left to right, he had fifteen Spider Riders, his Big Boss riding Giant Spider, ten Spider Riders, an Arachnarok Spider with a Shaman on board and another unit of fifteen Spider Riders.
I had faced Spiderfangs before, and I knew the key to defeating them was to kill the Heroes ASAP to bypass the ridiculous mortal wound output! On the right hand side of the ruins, I deployed in the "Axe Turtle"; Wrathmongers flanked by Blood Warriors, and supported by the Deathbringer and Skullgrinder. The crowd of Bloodreavers took up residence in front of the two Bloodsecrators who were on objective-guarding duty (to my embarrassment, I had to resort to using a 40mm base after leaving my only objective markers at home). Being painfully aware of the huge unit of arachnids on my left flank, my Skullreapers would have to operate independently today to stop my objective being claimed!

By moving around in its formation, the "Axe Turtle" forms a formidable fortress of death and carnage. When both Bloodsecrators plant their standards and the Deathbringer pops his Command Ability, the Blood Warriors (thanks to the rage enduring aura from the Wrathmongers) are up to six attacks each. The sheer volume of attacks dished out by the mass of red-armoured berserkers is horrific, even if they die.

I'm not sure how much experience my opponent had fighting Bloodbound, but I had every intention of putting up a tough fight.
Having far more deployment drops than my opponent, he chose to hand me first turn, in an attempt to get a double turn and to draw me into charge range. This wasn't necessarily a bad thing for me, as it allowed me to drop both of my Bloodsecrator Totems, pop the Deathbringer's +1 attack bubble, and bubble wrap my objective with Blood Reavers to avoid the turn three major loss offered by the Take and Hold Scenario. The right-hand unit of Blood Warriors made sure to get the whole unit into the woods, making a charge against them rather undesirable for the spiders.


Thanks to Cunning Deceiver, I suffered minimal damage from the pesky Gobbo bows, but I did lose a Skullreaper; acceptable losses in my mind.


I ended up winning this game on Victory Points, but it was certainly a lesson in the capability of my army. The Axe Turtle formation proved hugely effective, and I would definitely make use of it again. My opponent openly admitted that he had made mistakes in turn one as to which unit he buffed, but there were charges that failed to the surprise of both of us, so I certainly don't think he had made any significant blunder.
I don't know if he had much experience playing against Bloodbound either, because he was genuinely shocked when my Blood Warriors piled in with six attacks per model! Khorne can dish out some hurt. I definitely made mistakes when I broke formation. The Wrathmongers into the Arachnarok made sense and was the right thing to do, but I essentially threw away my Blood Warriors on the right, and in doing so, exposed both of my heroes. I would have been much better to hold back and shield them.
Skullreapers and Bloodsecrators were definitely the men of the match for me! After a slow start, the Skullreapers just dissected everything they touched! And Bloodsecrators were immensely powerful; having my entire army immune to Battleshock and having +2 attacks to every weapon is such a force multiplier that I'd be hard pressed to ever leave home without two in the future (although time, and a new Battletome, will tell…). And while I made some mistakes with the Blood Warriors, they continually prove to be some of the most reliable and value-for-points Battleline units in the Chaos arsenal, which is considerable!
I think I made the right move wrapping the Bloodsecrators on my objective, denying my opponent the chance for the turn three win. And this would not be the first game that Reavers won for me!
This was a fantastic game against a fantastic opponent. He had an absolutely beautiful Spider army (the photos really don't do it justice…), and he was a great sportsman! The game was tense and exciting, and i would gladly play him again.
As always, thanks for reading,
Gabe
Wise Pest Solutions
ReplyDeleteWise Pest Solutions offers professional pest control, wildlife, and raccoon removal services in Brampton and Canada. Get reliable pest extermination near you today!
To Get More Information - Wisepestsolutions