And Cal was running the new Death trickery, Legion of Grief!

Now, I'll be honest. At the time of playing this game, I had read absolutely nothing on Legion of Grief. I didn't know their rules, didn't know their tricks and had only half an idea what to expect. I was familiar with the warscrolls, and I figured outside of that, things couldn't get too crazy, right?
The scenario was Knife to the Heart, so I was going to have to be careful of all of his flying, retreating and charging infantry that could easily get deep into my backfield if I positioned poorly.

Cal outdropped me and gave me first turn, which I was pretty conservative with. He had a unit of Bladegheists in the grave, so I really didn't want to get too ambitious until he'd played his hand. One thing I always catch myself doing is just diving in at the first opportunity, and so I've been using a little more self control than I typically would. Especially in Knife to the Heart, it's incredibly important not to over-extend. My first turn involved a couple of spell attempts which were shut down, and some shuffling of warhounds and Taur'ruks. I wanted to use the house in the centre of the board to anchor my forces. Hopefully, Cal would commit to an assault on one side, and I could focus my shooting and combat prowess.

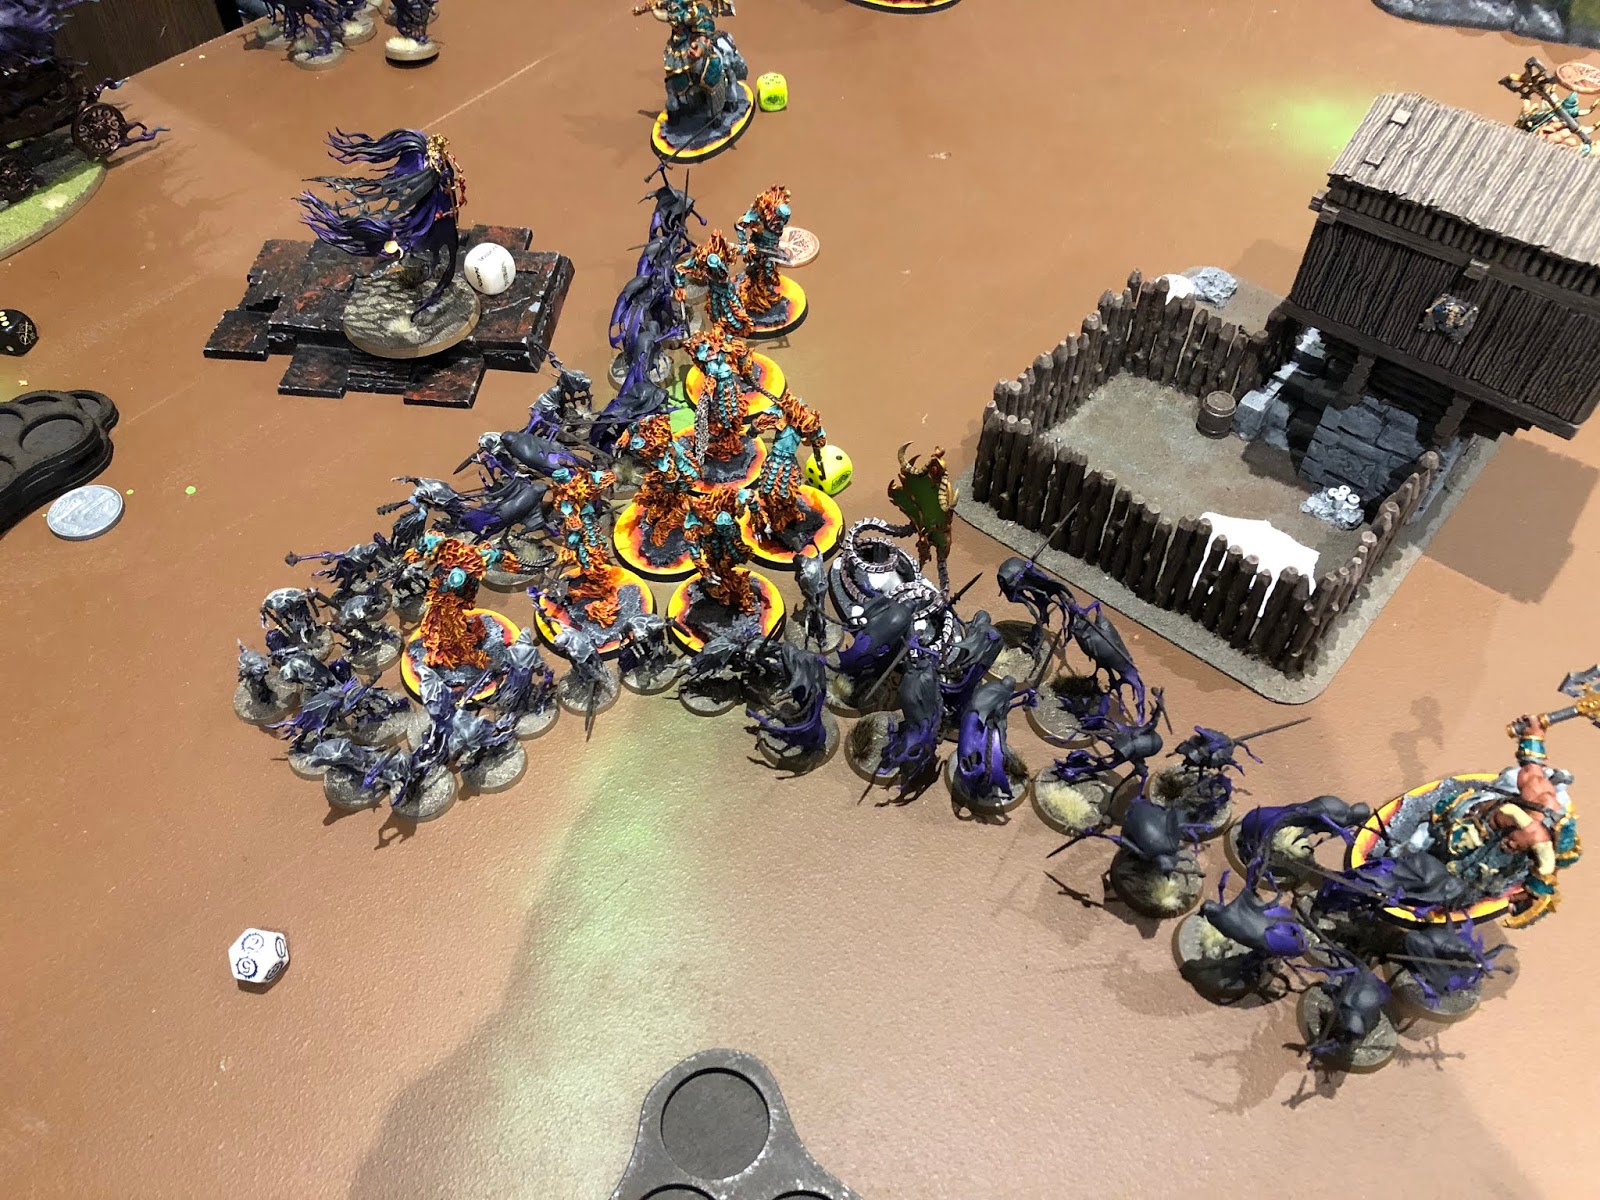
Cal wasted zero time getting stuck into combat! Mannfred, a unit of Dire Wolves and the Bladegheists from the Grave launched an all out attack on my left line, slamming into the screen of hounds with the highest hopes of carving their way to victory.
But, as always, Mannfred had to go ruin everything!
Before anything happened, the Epitome took its toll, luring the Dire Wolves and Blades into swinging last. Then Manny activated first with a single job to do. Clear the screen of warhounds, so that the Bladegheists could reach the K'Daai with their ton of attacks and start denting things. The hounds are a single wound each with a truly mediocre save. So, surely a couple of dogs would pose no issue to a militant Mortarch of Nagash? Apparently, not.
He inflicted five wounds. I took those five casualties from directly in front of him, which had a two-fold purpose. Firstly, it meant that his Blades were hitting the rest of the dogs because they couldn't reach over the top to hit the Fireborn. And secondly, it left space in front of Mannfred for my two Taur'ruks to pile in and start swinging!

My Warhounds, K'Daai, and Taur'ruks all played their part in dishing out some horrific damage, and when the dust settled, Manny was dead and the Blades were dead. My surviving Warhounds fled to battleshock, but they'd more than earned a break from battle!

Cal won turn two, but having had his plans rattled by the death of Manny, it was a bit of a cagey turn. The Black Coach continued its rampage toward my objective, trampling an entire unit of Fireglaives beneath its hooves, while the K'Daai absolutely mashed the five Dire Wolves left to hold the front line. Aside from that, the Chainrasps floated forward, protecting Olynder as they went. Even with the damage I'd already caused, I knew I had a LOT of bodies still to kill if I wanted to claim that objective.

The Skullcracker and a Taur'ruk got ready to slam into the other end of the unit to lock it in place, while thirty riflemen loaded their rifles to blow holes in the Coach. Against all odds, my Skullcracker (who was crucial to chew through the sheer numbers of the Chainrasps) failed a re-rollable 3" charge.
Snake Eyes...
Twice...
They say when it rains it pours. I fired thirty Fireglaives into the Coach and backed it up with a Taur'ruk charging in. Alive on one wound. If I'd remembered Burning Skies AT ALL in this game, it would have been OK, but I forget that rule four out of five games, much to my detriment.

From there, the combat just escalated. The Blades charged in, intent on killing the Taur'ruk and Epitome, but with no luck. The K'Daai kept on brawling, slowly losing numbers through weight of attacks, but no where near at the speed that the Chainrasps were! The models lost from the Chainrasps had left the other Taur'ruk out of combat, but now unrestricted and free to charge down Olynder! It was his moment for greatness!
In my turn, I dropped the hammer. I had plenty of command points in the pocket, and so my K'Daai and Epitome both retreated from combat, flying over the top of the ghosts to the now exposed objective that was only being held by the back corner of a depleted Chainrasp Horde! I ran the Taur'ruk around Olynder (cowardly, but for the greater good!) to stack another body on. I had just enough manpower to lay claim to the objective and take the game for a Major Victory.
This game really confirmed for me that the Epitome is hands down the best ally I could fit in the army. So much utility, and a constant source of pain and grief for my foes! The Skullcracker was a complete potato this game, but lucky for him, the rest of the army pulled its weight. Triple Taur'ruk also proved their worth this game, despite their high rend being completely irrelevant for the most part.
Cal was a gent and a sportsman, and it was a great game to finish Day 1 on! I was sitting tight on 2 wins and 1 loss, and I was happy with my play heading into Day 2.
Little did I know, Game Four would be a game I'd not soon forget!
Thanks for reading,
Gabe
No comments:
Post a Comment